I’ve been exploring Go since late January. After solving about 20 LeetCode problems, I’m becoming familiar with the most basic syntax without constantly checking A Tour of Go. I haven’t touched questions requiring advanced data structures yet, but I think I’ll improve in the future with more practice.
Working on LeetCode gives you a taste of Go syntax. There are both joys and pains compared to using Java in LeetCode. However, nothing beats working on an actual project when learning a new programming language, as LeetCode mainly focuses on data structures and algorithms – concepts that can be applied in any language. You won’t truly understand Go’s strengths and weaknesses without a project – LeetCode doesn’t cover how to create an HTTP Server or work with advanced features like concurrency.
One of the mini-projects I love to pick is an ASCII Art generator. It works as follows:
- Load an image from the file system.
- Read the pixels and determine their brightness.
- Convert the pixels into ASCII characters based on their brightness.
- Write the output to a text file.

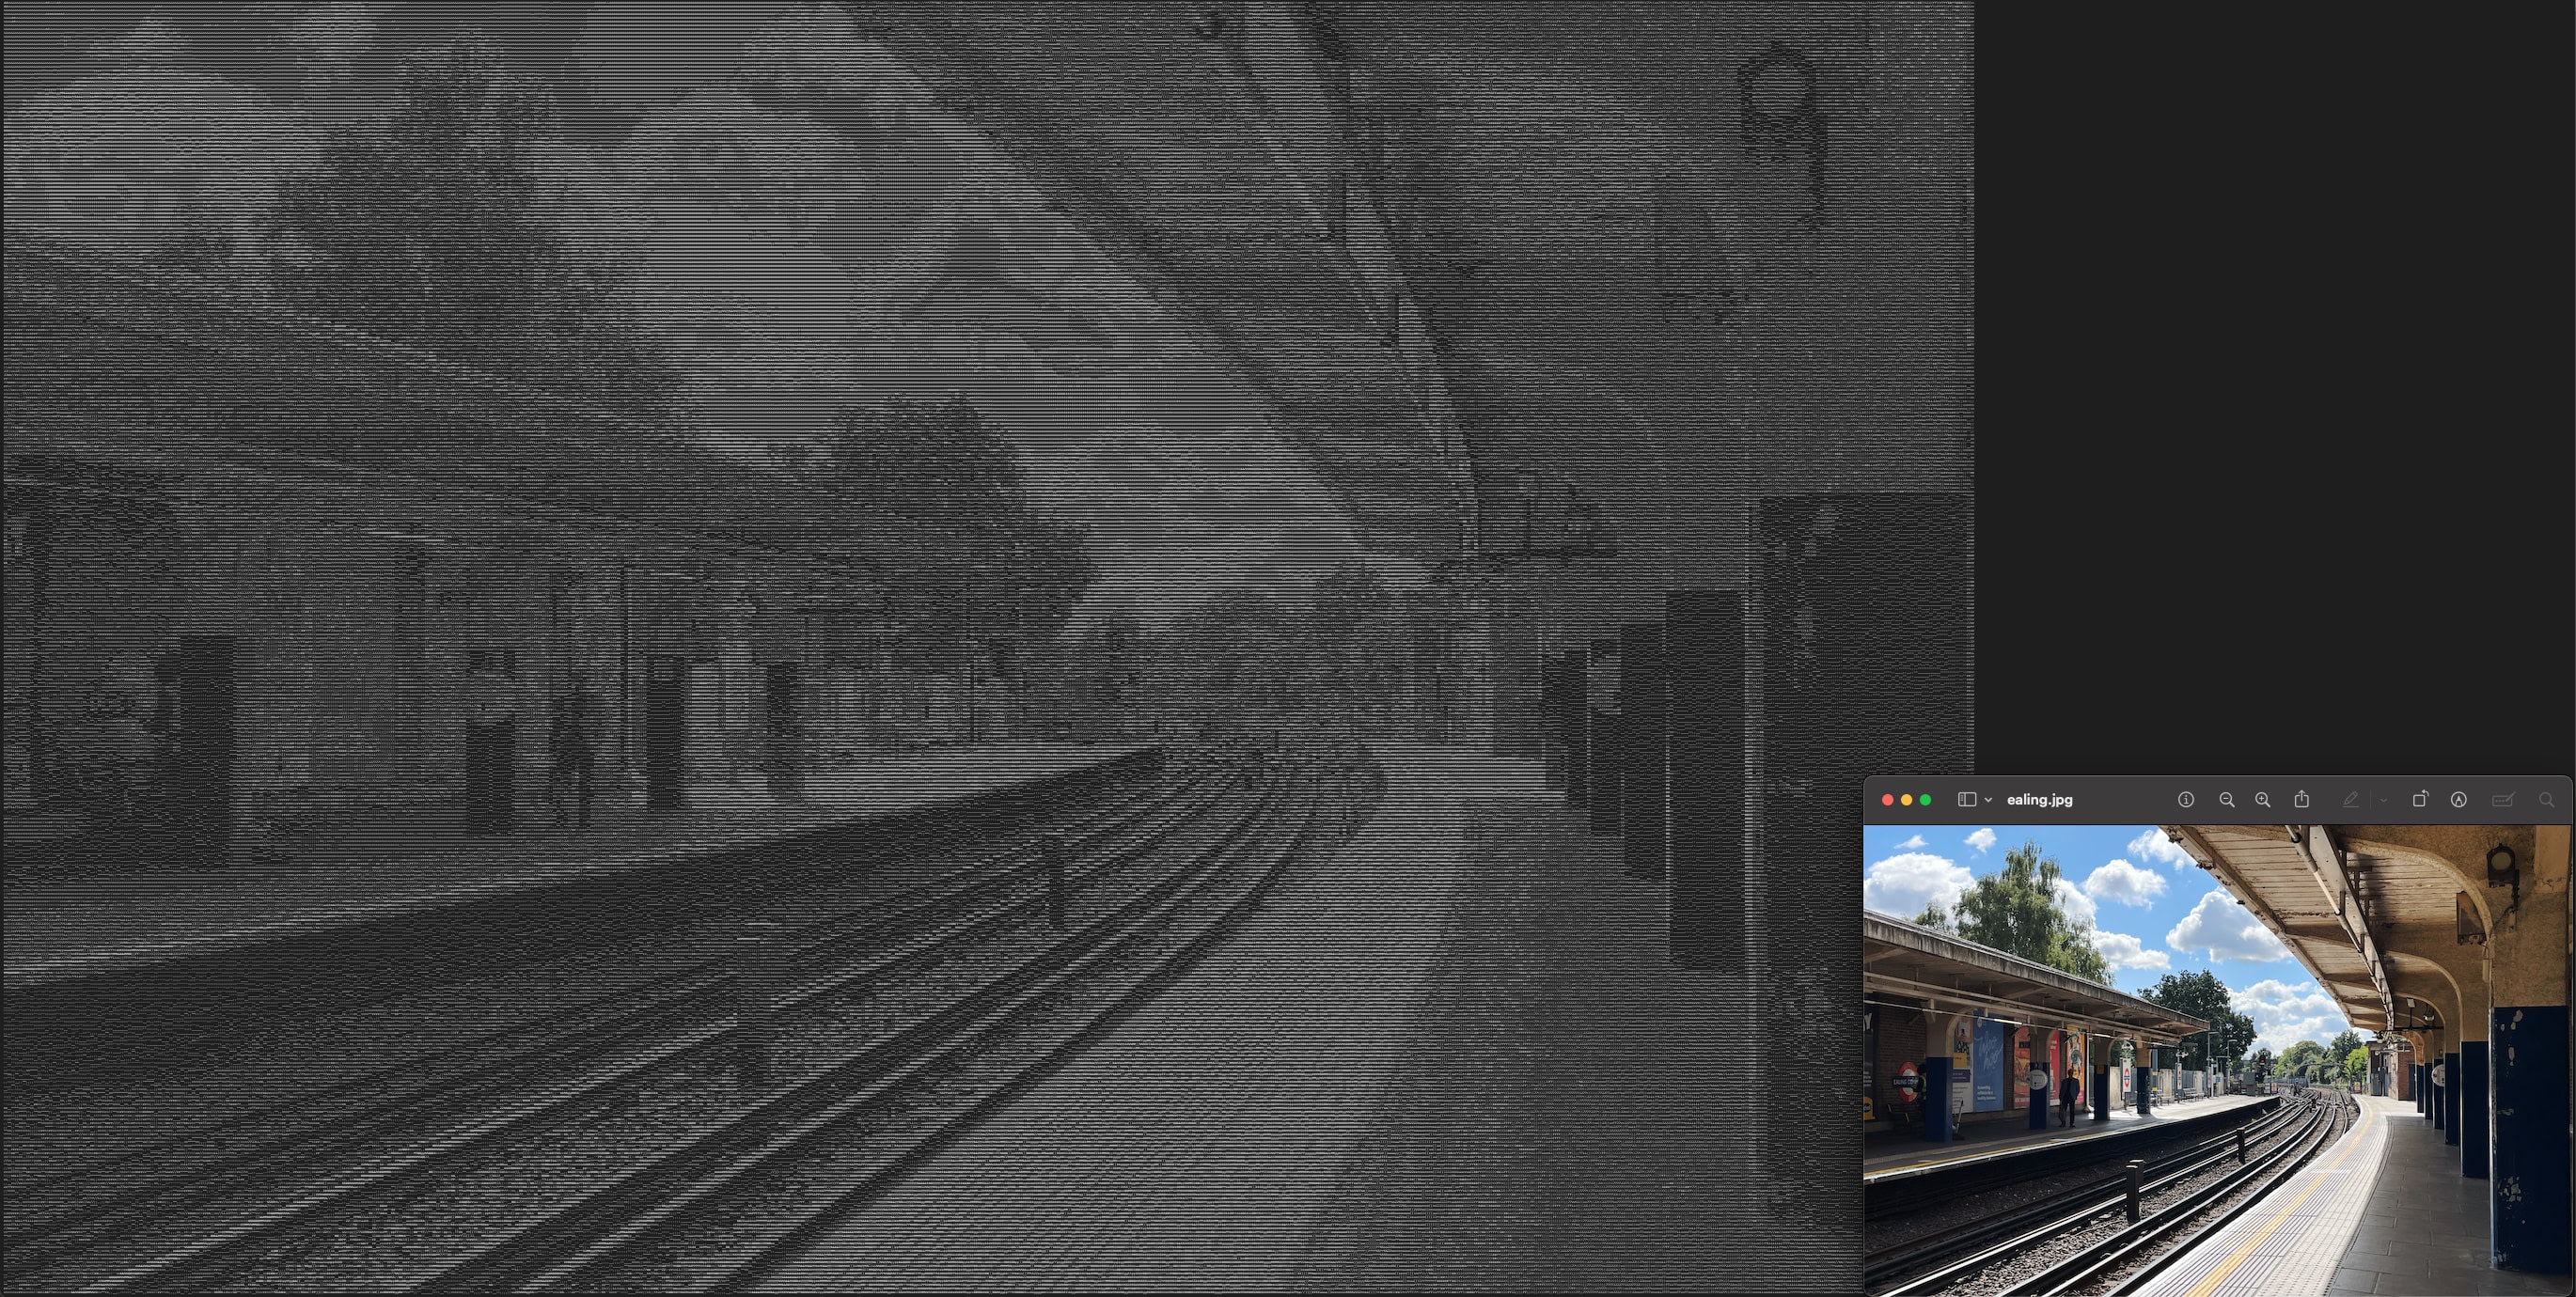
ASCII Art of Osaka night
Through these four steps, we’ll learn several topics using a programming language:
- File I/O. I remember last year, when I was working on an ASCII Art generator in Java, I struggled a lot in with reading a file. Despite working with Java over ten years, I had almost no experience with file I/O.
- Image processing. This is an area that typical enterprise developers rarely work with. I also want to explore how much a language’s standard library can achieve.
- String operations. Different programming languages have their own string implementations. Go doesn’t have
charbut instead usesrunes, which is an unfamiliar data type I wish to explore. - A slight touch on design patterns. This is a topic that I frequently encounter int my work.
- Testing. Writing tests for simple functions to learn the idiomatic way.
Step 0: Choose an image
Just in case you don’t know, JPEG, PNG and GIF are images made of pixels. Each pixel is represented by a set of numbers, defined by various colour models. One such model is RGB, in which the red, green, and blue lights combine to from colours. In Go, RGBA is used instead, where “A” stands for alpha, indicating the opacity of a pixel. The higher the RGB value, the brighter the pixel.
On the other hand, each character consists of varying stroke thicknesses. For example, @ has more strokes than .. Therefore, on a dark-on-light screen, @ appears brighter than .. There is a
standard and suggested greyscale character map, and
other versions. Feel free to explore them further.
Since characters are displayed in a relatively large font size, I suggest starting with a small image, e.g., 100 × 100 pixels, to simplify our implementation.
SPOILER ALERT: I’ll walk through the process below. If you want to implement it yourself, stop here and come back if you need any hints.
Step 1: Load an Image from the File System
Loading an image in Go is very simple. Write a helper function that returns the image, a closure to cleans up the resource, and an error.
func LoadImage(imgPath string) (image.Image, func(), error) {
	f, err := os.Open(imgPath)
	if err != nil {
		return nil, nil, err
	}

	closer := func() {
		f.Close()
	}

	img, format, err := image.Decode(f)
	if err != nil {
		return nil, closer, err
	}

	if format != "jpeg" && format != "png" && format != "gif" {
		return nil, closer, fmt.Errorf("unsupported format: %s", format)
	}

	return img, closer, nil
}
As suggested by Jon Bodner in Learning Go: An Idiomatic Approach to Real-World Go Programming, Go doesn’t allow unused variables. Returning the closer from the function ensures taht we call it before the program ends.
func main() {
	img, closer, err := LoadImage(args[0])
	if err != nil {
		log.Fatal(err)
	}
	defer closer()

	log.Println("Image loaded with size", img.Bounds().Size())
}
Step 2: Read the Pixels and Determine Their Brightness
Unlike Python and JavaScript, Go’s standard library is powerful enough to handle all the necessary calculations. There are two important points worth mentioning.
First, in Go, an image’s bounds do not necessarily start at (0, 0). Therefore, it’s essential to start the loop at img.Bounds().Min.Y and img.Bounds().Min.X instead of 0.
Second, Go uses 16-bit RGBA instead of 8-bit RGBA, meaning each color brightness ranges from 0 to 65535.
There are multiple ways to transform RGB values into brightness. To keep it simple, we’ll first implement the most basic method – taking the average. We’ll cover more methods later.
func CalcBrightnessNumbers(img image.Image) [][]int {
	height := img.Bounds().Dy()
	width := img.Bounds().Dx()
	brightnessNumbers := make([][]int, height)
	for i := range brightnessNumbers {
		brightnessNumbers[i] = make([]int, width)
	}

	for y := img.Bounds().Min.Y; y < img.Bounds().Max.Y; y++ {
		for x := img.Bounds().Min.X; x < img.Bounds().Max.X; x++ {
			r, g, b, _ := img.At(x, y).RGBA()
			brightnessNumbers[y][x] = (int(r) + int(g) + int(b)) / 3
		}
	}
	return brightnessNumbers
}
Step 3: Convert the Pixels into ASCII Characters Based on Their Brightness
First, I prepared a grayscale string sorted by ascending brightness. Since we have 91 characters and 65536 possible brightness values, we can determine the correct ASCII character using simple maths.
Length of grayscale string × Brightness Number / 65536
Characters are printed in a rectangular format, while pixels are square. To maintain the image ratio, I introduced const repeat.
const (
	grayscale     string = "`.-':_,^=;><+!rc*/z?sLTv)J7(|Fi{C}fI31tlu[neoZ5Yxjya]2ESwqkP6h9d4VpOGbUAKXHm8RD#$Bg0MNWQ%&@"
	maxBrightness int    = 65536
	repeat        int    = 2
)

func GenASCIIArt(img image.Image) string {
	l := len(grayscale)
	var sb strings.Builder
	for _, row := range CalcBrightnessNumbers(img, bCalc) {
		for _, col := range row {
			s := string(grayscale[l*col/maxBrightness])
			for range repeat {
				fmt.Fprint(&sb, s)
			}
		}
		fmt.Fprintln(&sb)
	}

	return sb.String()
}
This part seems straightforward, but I made a mistake and didn’t realise it until I was preparing this article. Proper tests would have helped catch it earlier.
Go doesn’t provide assertion, and the community generally discourages third-party assertion libraries. This is very different from Java, where developers widely use AssertJ.
After reading several articles and even reviewing Go’s source code, I found if go, want to be quite an intuitive way to express test cases. So here it is – guess what went wrong before I wrote these test cases.
After reading several sources and even reviewing Go’s source code, I found if got, want to be quite an intuitive way to express test cases. So here it is—guess what the expected output should be before reading my test cases!
func TestCreateASCIIArtBlack(t *testing.T) {
	upLeft := image.Point{0, 0}
	lowRight := image.Point{1, 1}
	img := image.NewRGBA(image.Rectangle{upLeft, lowRight})
	img.Set(0, 0, color.Black)

	if got, want := CreateASCIIArt(img, avg), "``\n"; got != want {
		t.Errorf("CreateASCIIArt(%v) = %v, want %v", "image with single black pixel", got, want)
	}
}

func TestCreateASCIIArtWhite(t *testing.T) {
	upLeft := image.Point{0, 0}
	lowRight := image.Point{1, 1}
	img := image.NewRGBA(image.Rectangle{upLeft, lowRight})
	img.Set(0, 0, color.White)

	if got, want := CreateASCIIArt(img, avg), "@@\n"; got != want {
		t.Errorf("CreateASCIIArt(%v) = %v, want %v", "image with single white pixel", got, want)
	}
}
Step 4: Write the Output to a Text File
Writing files in Go is also simple. With just four functions from the standard library, we can parse the full path from a string, create directories and file if needed, and write the content to the file.
func main() {
	// other code

	asciiArt := CreateASCIIArt(resizedImg, bCalc)

	outputFilePath := "out/ascii.txt"
	dirPath := filepath.Dir(outputFilePath)
	err = os.MkdirAll(dirPath, 0750)
	if err != nil {
		log.Fatal(err)
	}

	f, err := os.Create(outputFilePath)
	if err != nil {
		log.Fatal(err)
	}
	defer f.Close()

	size, err := f.WriteString(asciiArt)
	if err != nil {
		log.Fatal(err)
	}

	log.Printf("ASCI Art generated: %d bytes\n", size)

	f.Sync()
}
That’s all for the simplest implementation. Everything above can be achieved using only the standard library. The code is much simpler than the Java equivalent.
Extra 1: Exploring Different Brightness Calculations Using Higher-Order Functions
Still remember our first brightness calculation? The averaging method might not produce results that match your preference.
There have been extensive research on mapping the colour to greyscale. Let’s implement them all by using function type BrightnessCalc and a set of functions of this type.
type BrightnessCalc func(int, int, int) int

func avg(r, g, b int) int {
	return (int(r) + int(g) + int(b)) / 3
}

func hsv(r, g, b int) int {
	return (max(r, g, b))
}

func hsl(r, g, b int) int {
	return (max(r, g, b) + min(r, g, b)) / 2
}

func hsp(r, g, b int) int {
	return int(math.Sqrt(0.299*float64(r*r) + 0.587*float64(b*b) + 0.114*float64(b*b)))
}
We’ll then create a map to associate each method with its corresponding function.
bCalcMap := map[string]BrightnessCalc{
	"avg": avg,
	"hsl": hsl,
	"hsp": hsp,
	"hsv": hsv,
}
Finally, we update CalcBrightnessNumbers to allow it to use the function provided by upstream.
func CalcBrightnessNumbers(img image.Image, bCalc BrightnessCalc) [][]int {
	// the above remains unchanged

	for y := img.Bounds().Min.Y; y < img.Bounds().Max.Y; y++ {
		for x := img.Bounds().Min.X; x < img.Bounds().Max.X; x++ {
			r, g, b, _ := img.At(x, y).RGBA()
			brightnessNumbers[y][x] = bCalc(int(r), int(g), int(b))
		}
	}
	return brightnessNumbers
}

Various brightness calculation methods
Extra 2: Resizing the Image
A typical photo nowadays can be as large as 6000 x 4000 pixels. If we generate ASCII art using the original size, neither a terminal nor a browser can display it properly. Resizing the image before ASCII art generation is essential.
There are many resizing algorithms, but computer vision is far beyond my understanding and not my focus here. Therefore, I chose the simplest method – nearest neighbour interpolation.
By working on ASCII art generator, I explored areas that I couldn’t learn through LeetCode challenges. I’m now reading about Go’s concurrency features. Many new mini-project ideas are coming to mind. Let’s see what happens next!
Visit my GitHub repository for the complete ASCII Art codebase.